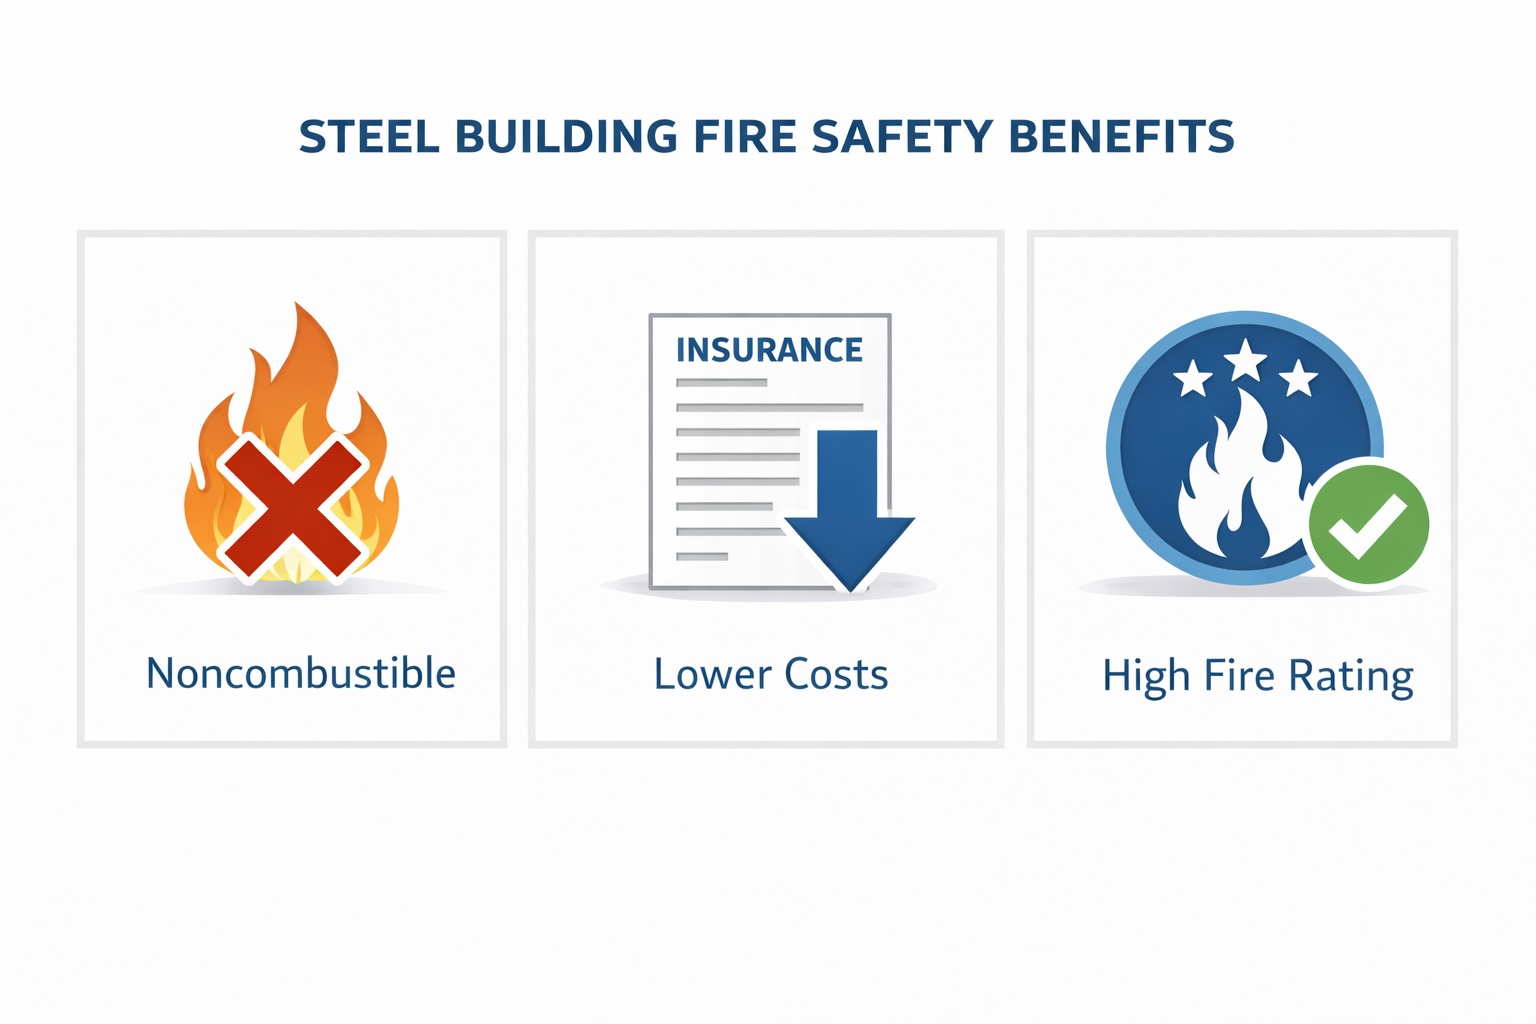
Fire Safety in Steel Buildings: Protection and Insurance Benefits
The insurance quote came back 40% lower than the wood-framed building next door. Same size, same use, different material. When the business owner called to confirm the numbers, his agent…