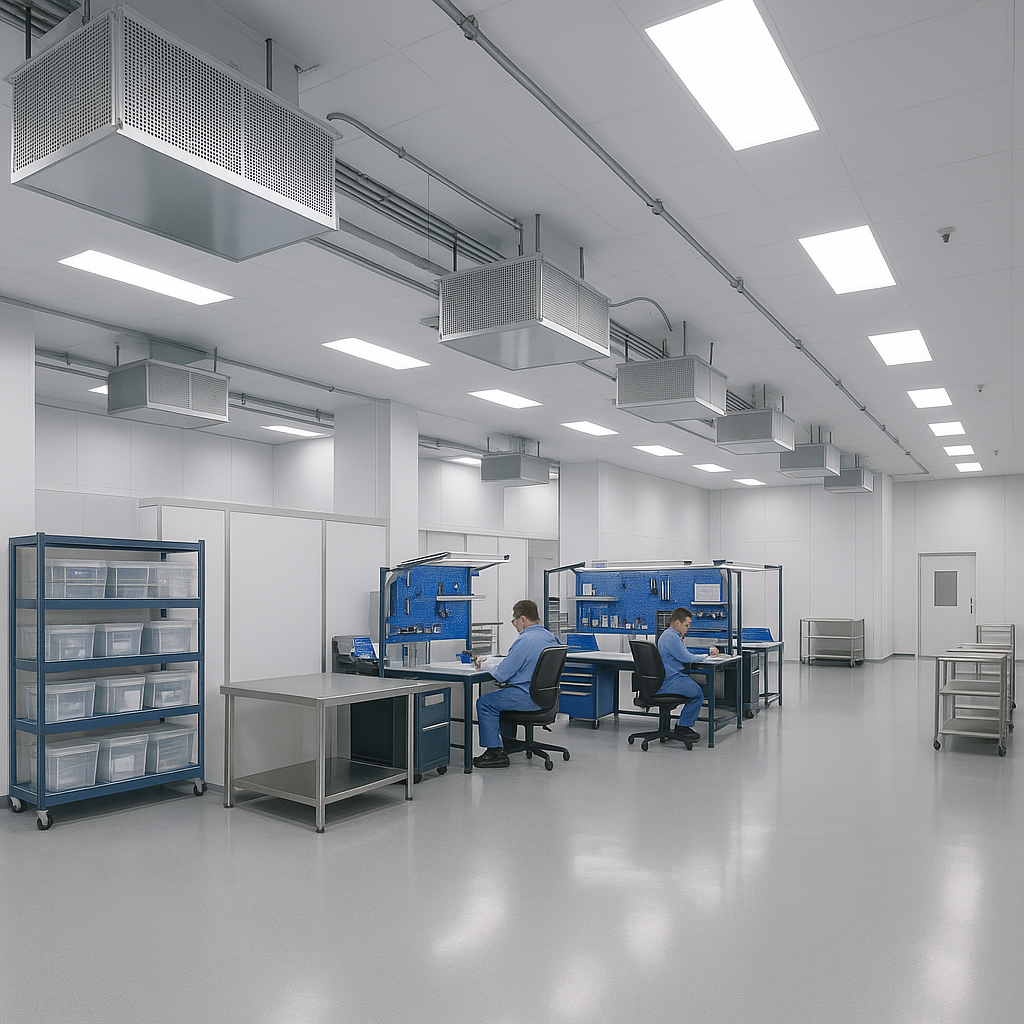
Lighting Strategies for Commercial Metal Buildings
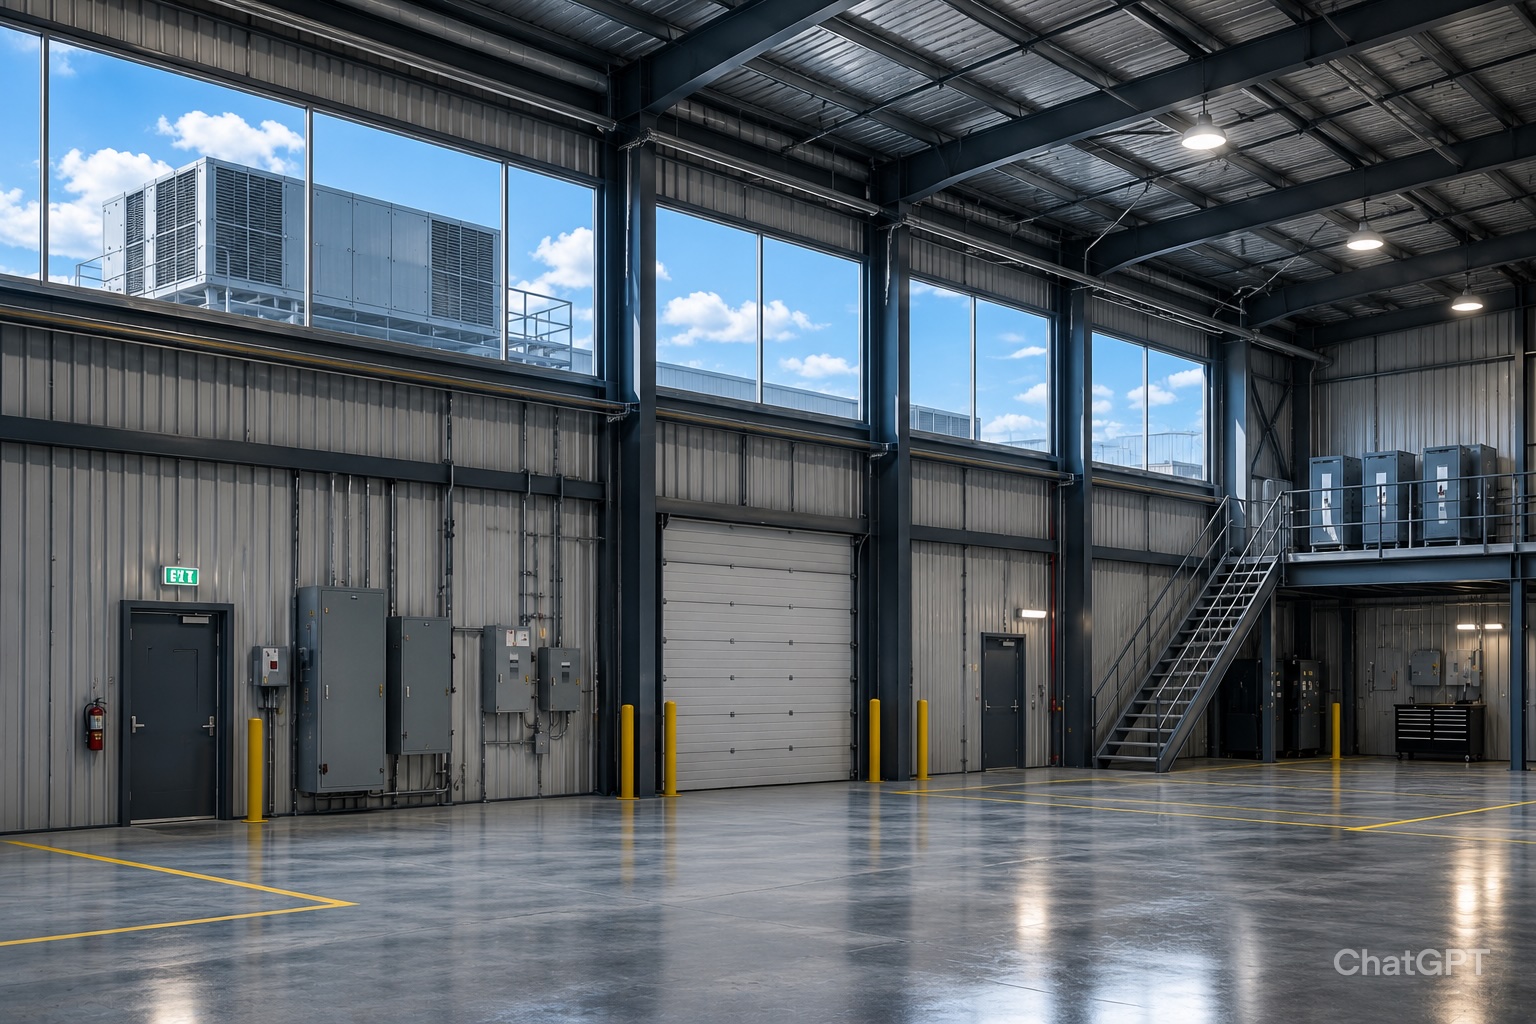
A distribution center in Georgia made one change during a facility upgrade and cut its lighting energy bill by 61%. They didn’t add solar panels or overhaul their electrical system.…